
Removal
and Reinstall

Step 1
Step 2
We document the array before anything moves. Photos, panel layout, rail positions, and wiring — so we know exactly where everything belongs when it’s time to put it back.
Basically, we take way too many pictures on purpose.
DAY 1 — DOCUMENT
STILL DAY 1 — REMOVE
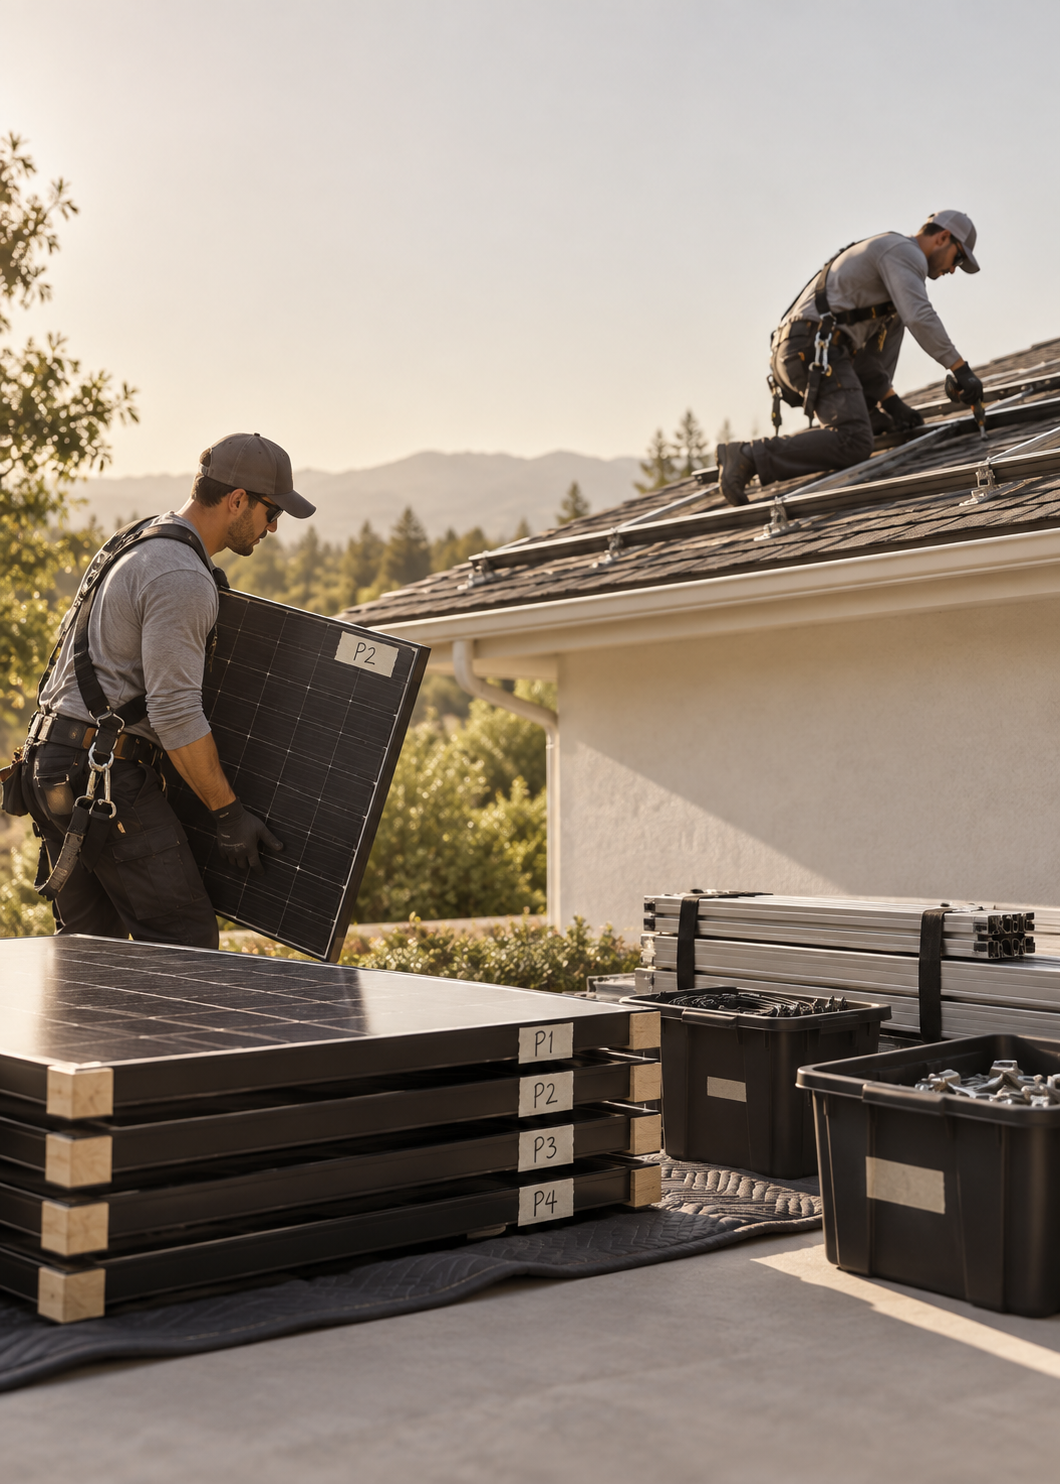
We shut the system down, label every module, and carefully remove the panels, rails, flashings, and hardware.
Everything gets organized and stored so nothing gets mixed up, damaged, or mysteriously disappears.

Step 3
Step 4
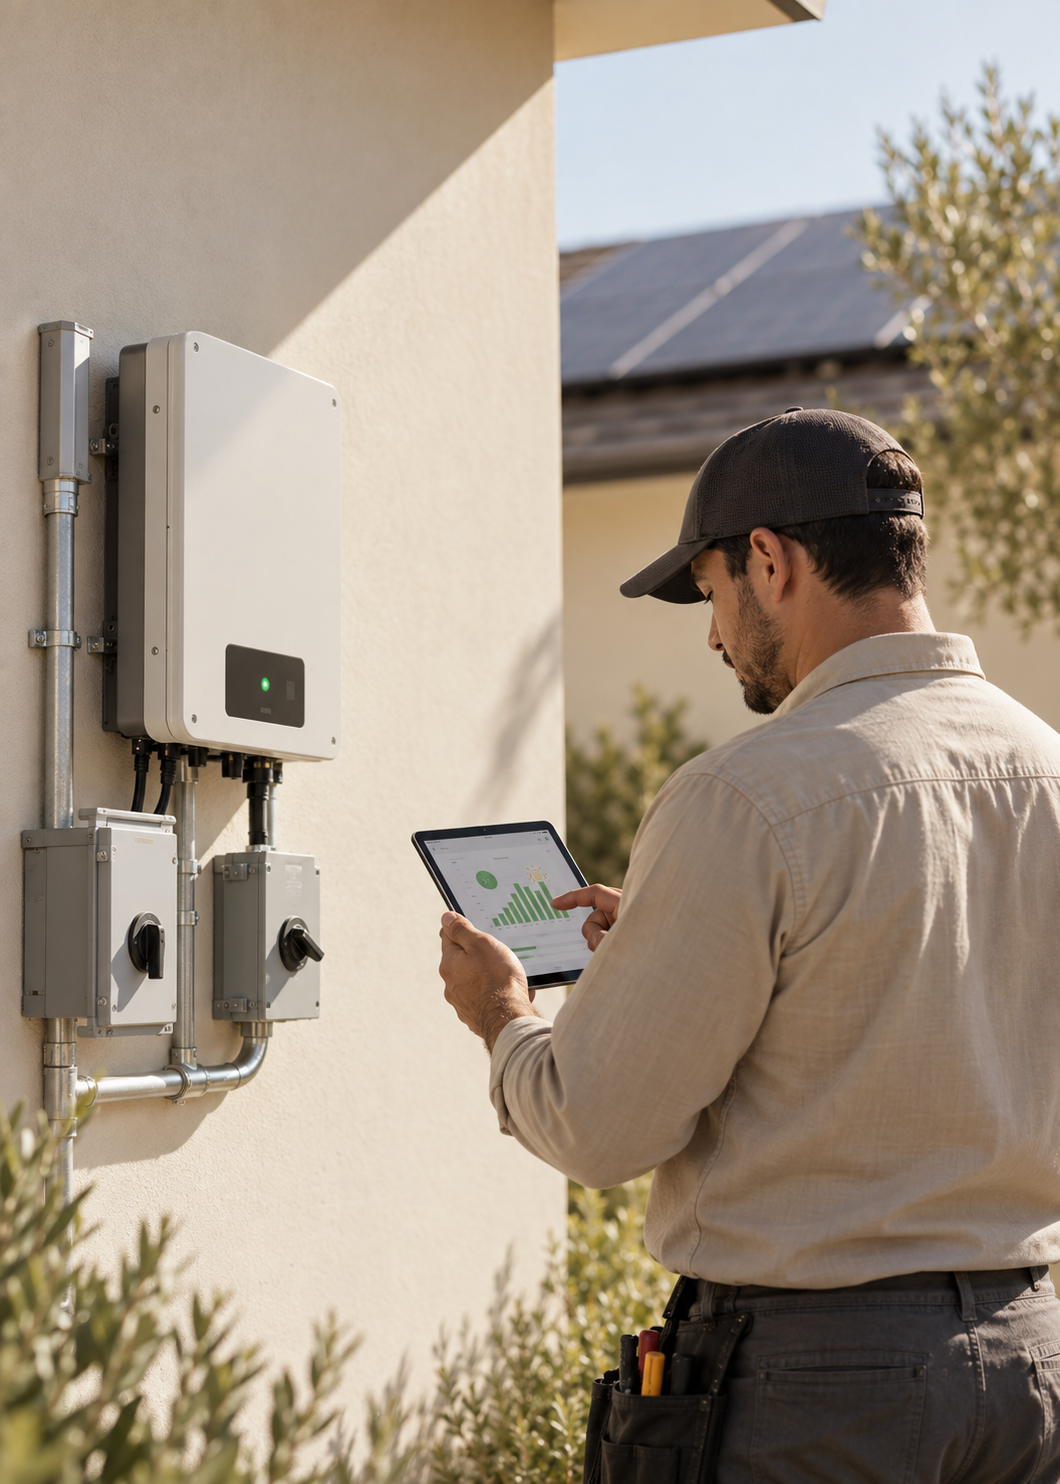
When the roof is ready, we reinstall everything the way we found it — same layout, same stringing, same hardware path.
Then we reconnect, test, and verify monitoring and production before we leave.
Your solar system goes back to doing its job. Like nothing happened.
PAUSE — ROOF TIME
Your roofer takes over.
They install the new roof while we stay out of the way and let them work. Once the shingles stop flying, we’re back.